
The Steam Deck Is a Perfect Candidate for an on the Go Emulation Machine
The Steam Deck Is a Perfect Candidate for an on the Go Emulation Machine
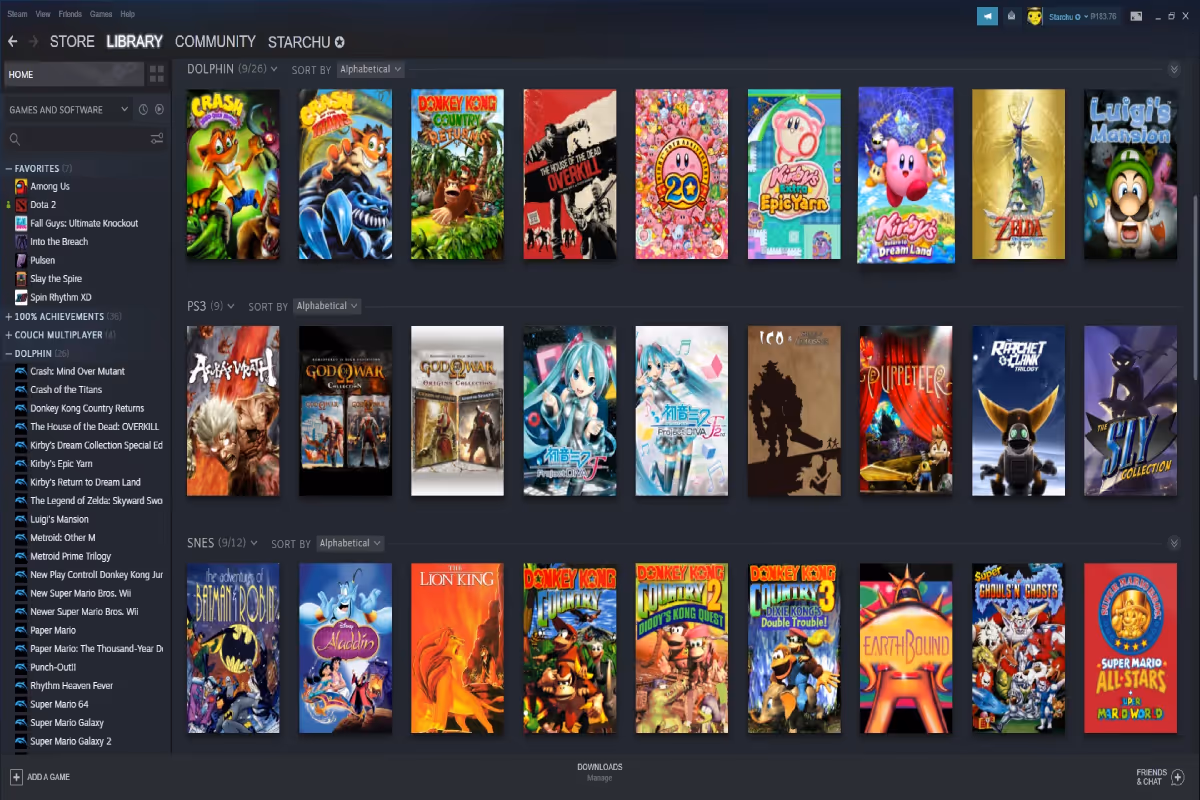
Main image courtesy of Time Extension
Valve really outdid themselves with the Steam Deck. Before its launch in 2022, you never would have imagined being able to play triple AAA games during your morning commute. But somehow Valve managed to cram the performance of a decent gaming PC into a handheld console, allowing you access to thousands of games in Steam’s catalog.
While most gamers will be well served by the game options available on the Steam Store, those who are into retro games may be left wanting. It’s a good thing then that, in addition to playing most modern titles just fine, the Steam Deck is arguably even better at emulating older games.
Unfortunately, this emulation talent isn’t shown off on a vanilla Steam Deck. You’ll have to jump through some hoops in order to get the various emulation softwares and games on the Deck. So today we’ll be going over how to emulate on Steam Deck. In the process, we’ll cover these topics:

For the uninitiated, emulation is a process that lets you play games on a console or system (usually a PC) that the game wasn’t originally intended for. To do this, emulators imitate the original hardware that the game was playable on. NES emulators imitate the NES, Playstation emulators imitate Playstation, and so on. Emulators can come in both hardware or software form, but we’ll focus on software emulation in this guide.
With any emulator, the main goal is to create an experience that matches up to the original. But many emulators go out of their way to include enhancements, such as adding cheats, giving aspect ratio options, and adding save states.
There are a lot of different emulators out there for just about any console you can think of. Here’s just few that we’ll get a chance to download later in this guide:
Once you install an emulator, you still need to get the games on your device. Games often come as ROM or ISO files, depending on the platform it was originally intended for. You also need BIOS files, which are specific to different consoles.
Note: While emulators themselves are fine to use, video game ROM and ISO files are copyrighted, meaning it is illegal to download them on the internet. That being the case, this guide will not include any links to download ROM files. If you already own an emulateable game, you can dump your game files to create your own ROMs, though you’ll need specialized equipment and software for that depending on the format.

There are a fair number of emulators that are compatible with the Steam Deck, each with various installation methods. To simplify the process, we will be using EmuDeck, a program that is essentially a one stop shop for the most popular emulators available. Retro Game Corps (RGC) created an amazing guide for using EmuDeck that we’ll be following.
Before you install EmuDeck, there are a few prerequisites that will make the process smoother:
Installing EmuDeck will require you to use the Steam Deck’s Desktop Mode, which isn’t easily navigated using the trackpad and on-screen keyboard. A physical keyboard and mouse will thus be quite useful here.
While you can install your games onto the Steam Deck’s internal storage, it might be better to use a microSD card instead. MicroSDs are an easy way to keep your retro games and your Steam games separate. RGC recommends a MicroSD with at least 256 gigabytes of storage, but you may go up to 1 terabyte depending on how many games you plan to install.
If you do choose to use a microSD card, be sure to format it before you start to install EmuDeck. To do this, insert your microSD card into your Steam Deck, go to “System” in your Steam settings, and select “Format SD Card.”
To get games on to your microSD or the Deck’s internal storage, you’ll likely be transferring over ROMs from your PC or Mac. This will require a flash drive or an external hard drive. Make sure it has a type C adapter, as the Steam Deck doesn't have any USB type 3 ports.
The whole process of downloading EmuDeck and emulators is pretty simple. Here’s a step-by-step guide:
With that final step, EmuDeck will begin the installation process. Allow it a few moments to do its thing and you’ll be good to go!

Now that you’ve got EmuDeck installed, it’s time to get some games on your Steam Deck. As noted earlier, you’ll need a flash drive to transfer ROM files to your Steam Deck. You’ll also need to get BIOS files, which are system files that certain emulators need to function.
Once you have the ROM and BIOS files on your flash drive, you can plug it into your Steam Deck and drag the files into the appropriate folders. Here are the folders where you should be putting the files:
Now it's time to integrate all your new retro games into the Steam ecosystem by adding them to your library. Without this step, you wouldn’t be able to launch your games from the Steam Deck home page. The Steam ROM Manager (SRM) is the quickest and easiest way to add emulated games to Steam. SRM is automatically downloaded along with EmuDeck, so all we need to do is configure it.
Open EmuDeck and go to Steam Rom Manager in “Tools & Stuff.” It will give you a list of parsers on the left side of the screen. Toggle parsers off or on as you like, then select “Preview” and “Generate app list.” Wait for it to generate, then go through the list and make sure all your ROMs are there. Each ROM comes with artwork you can customize, SteamGridDB is a great resource if you’d like to add new images.
Once all your ROMs look to be in order, click “Save app list.” It will take a few minutes depending on how many ROMs you have, but then you’re all done. Now your emulated games will be waiting for you next time you enter Game Mode.
If you followed these steps, you now have a Steam Deck that can emulate retro (and not so retro) games like a pro. Go relieve some of that childhood nostalgia and let us know down in the comments what emulated games you'll be playing.

