If you enjoy military games, you’ve no doubt heard of the Call of Duty franchise. Modern Warfare is one of its key series, and now that Call of Duty: Modern Warfare III has been out for a little bit, gamers everywhere are enjoying it – but if you don’t have your controller settings optimized, you might not be enjoying it to the fullest extent. We’re here to help you customize your controller settings, with special focus on:
Of course, these aren’t hard and fast rules – what helps one player’s performance might hinder another’s. We recommend experimenting with your settings and figuring out what works for you as an individual. It’s also important to consider whether you value immersion or gameplay success more, as there are a few more immersive settings that understandably make the game more difficult.

Button Layout: Tactical. The tactical layout maps crouching, sliding, and diving to the analog stick, making it ideal for players using standard controllers.
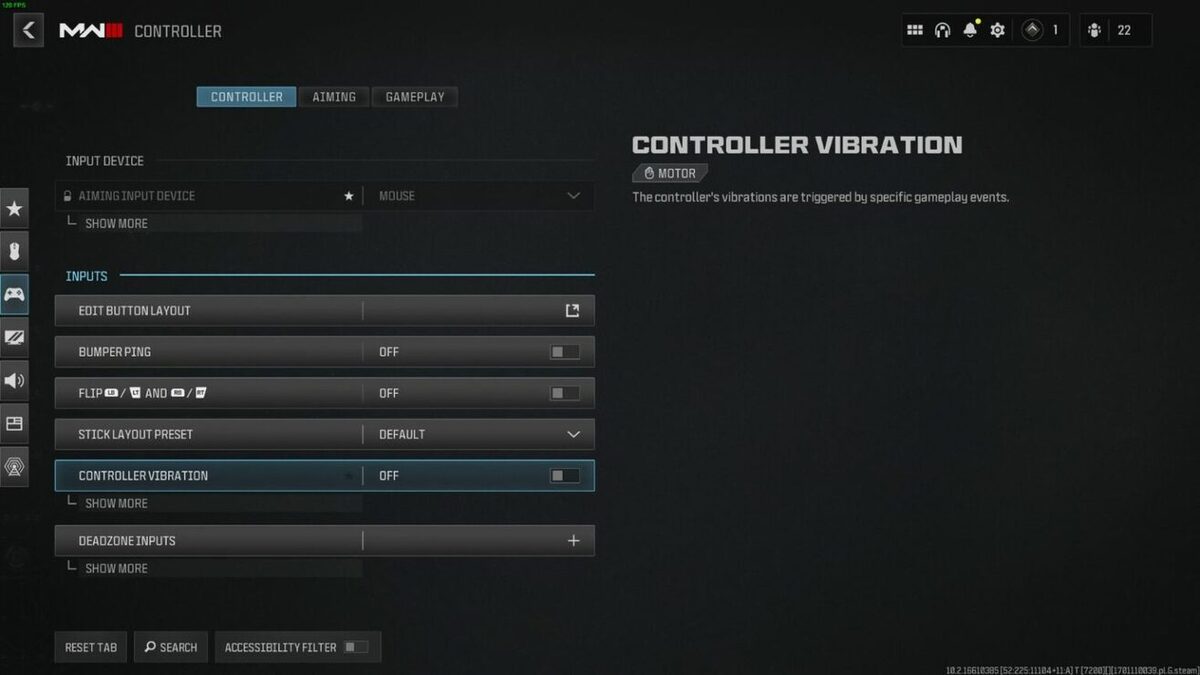
Bumper Ping: Off. Having bumper ping on maps pinging to the left bumper instead of the up on the D-pad, which is the default setting. It also remaps your lethal equipment, and makes it more difficult to perform certain actions.
Flip L1/R1 with L2/R2: Off. This is mainly up to preference, but most players prefer leaving it off unless they play with claw grip.
Stick Layout Preset: Off.
Controller vibration: Off.
Trigger Effect (PS5): Off. Players who value immersion may enjoy this setting, but for most players, it can be detrimental to your aim precision.

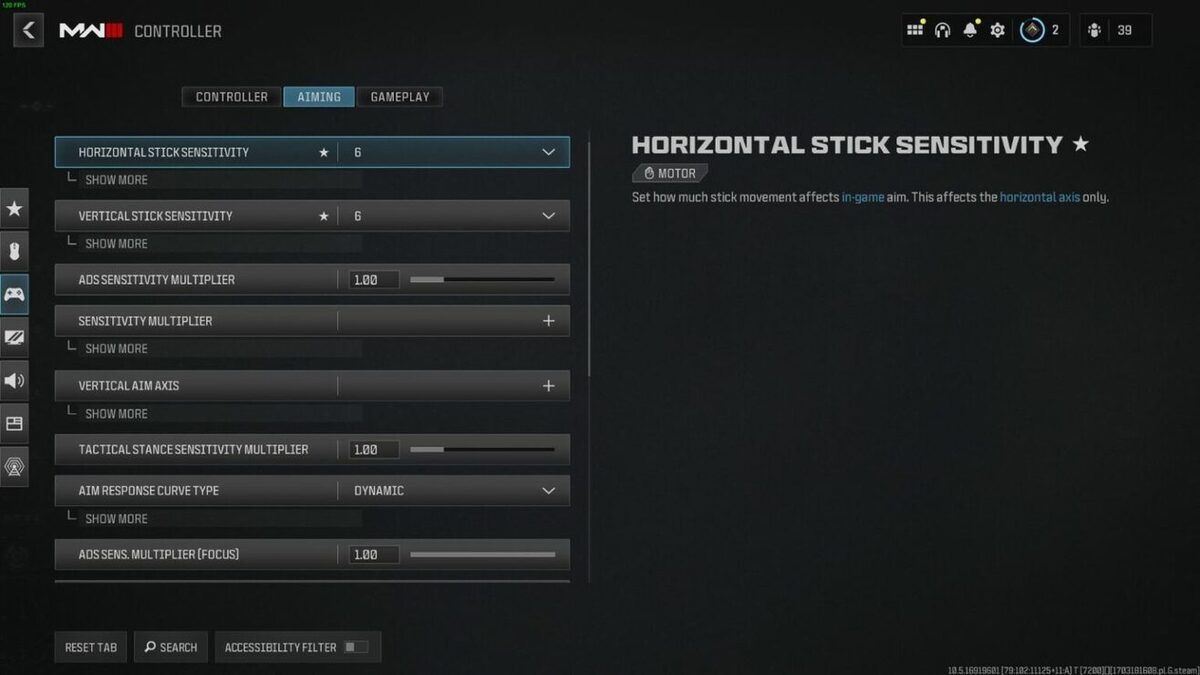
Horizontal & Vertical Stick Sensitivity: Between 5-10 (most players hover around 7-8). A higher sensitivity level enables faster turning, making it easier to react to enemies, but can make actual aiming a little more difficult. We recommend starting around 6 and working your way up.
ADS Sensitivity Multiplier: 0.90.
Vertical Aim Axis: Standard.
Tactical Stance Sensitivity Multiplier: 1.00.
Aim Response Curve Type: Dynamic. Newer players might want to start on Standard, as it’s more forgiving, but Dynamic and Linear are better for more experienced players, as they allow for better fine-tuning of your aim.
Aim Response Curve Scale: 1.00.
ADS Sensitivity Multiplier (Focus): 1.00.
ADS Sensitivity Transition Timing: Instant.
Custom Sensitivity Per Zoom: Off.
Target Aim Assist: On.
Aim Assist Type: Default/Black Ops. Default aim assist gives a traditional aim slowdown near your target. The Black Ops setting is similar, using the Black Ops games’ traditional aim slowdown. If you’re new to shooters, the focusing aim assist can be helpful. If you’re a very accurate player, on the other hand, we recommend the precision aim assist.
Third Person ADS Correction Type: Precision.

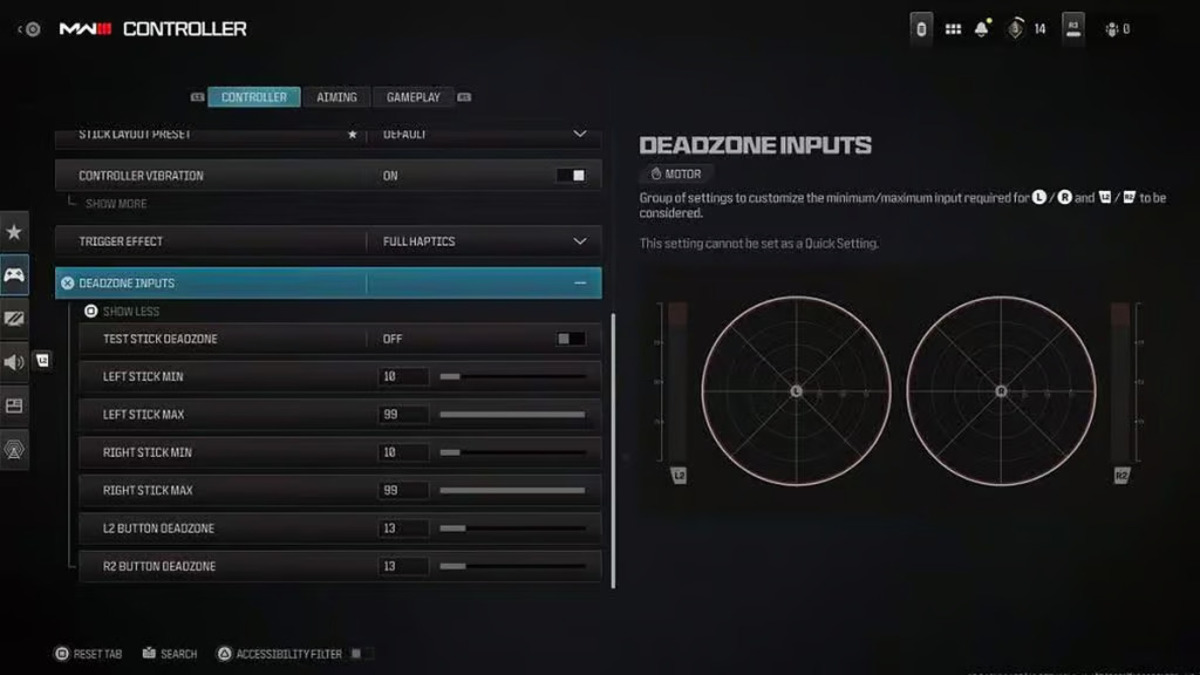
A controller “deadzone” is the amount the analog stick can move from the neutral position before it registers as an input. Generally, you want a small deadzone, but if it’s too small, you can start to see issues. Sometimes controllers can even exhibit “drift,” which is when the controller detects inputs that aren’t actually there (you may have heard about this after the release of the Nintendo Switch). Luckily, MW3 has a new Deadzone Input Test, allowing players to test for drift.
Whatever numbers the test gives you, you’ll want to set the stick min to at least that number (i.e., if you have a 4% drift on your left stick, you’ll want to set the left stick min to at least 4). However, because drift can vary a little during gameplay, we recommend setting the min to one above the number it gives you. You’ll want to repeat the test after you adjust these settings, to make sure the test doesn’t pick up any more drift.
Once that’s done, set the left & right triggers (L2 & R2) to 0.

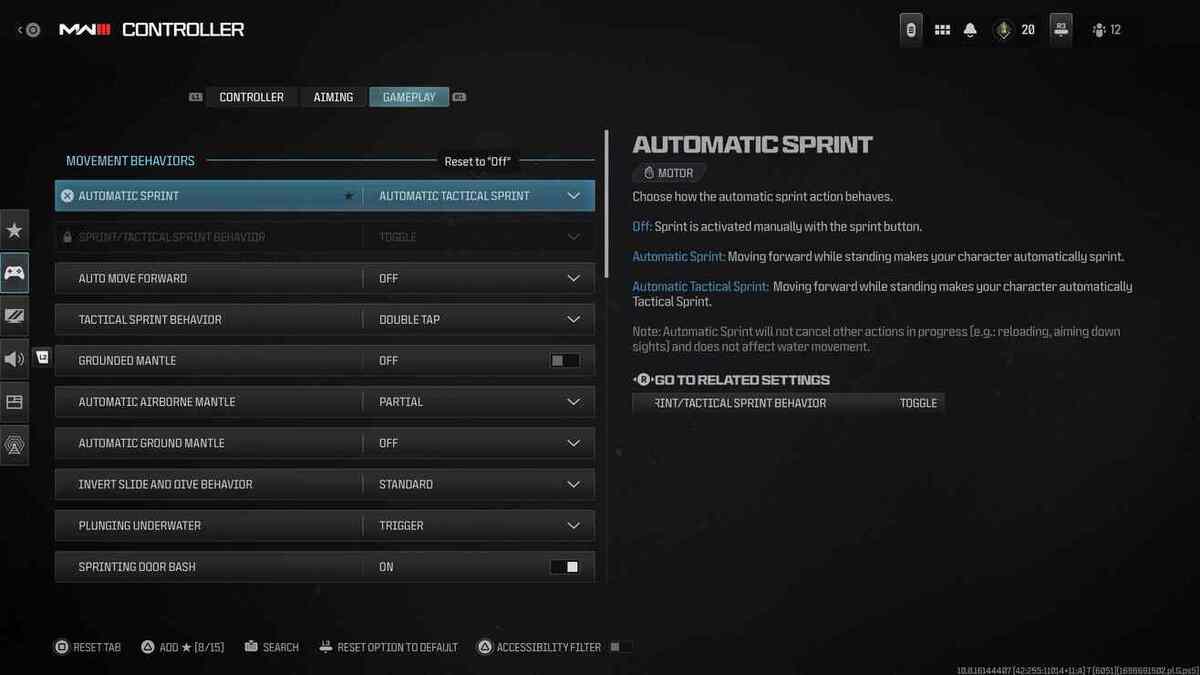
Automatic Sprint: Preference.
Slide Maintains Sprint: Preference (Note: If Automatic Sprint is off, this is disabled by default).
Sprint/Tactical Sprint Behavior: Toggle.
Auto Move Forward: Off.
Tactical Sprint Behavior: Double Tap.
Grounded Mantle: Preference.
Automatic Airborne Mantle: Partial. This determines if you’ll automatically mantle when headed to obstacles while airborne. Partial, the default setting, makes you automatically mantle if it’ll prevent a fall.
Automatic Ground Mantle/Hang: Off.
Invert Slide/Dive: Standard or Slide Only.
Plunging Underwater: Trigger.
Sprinting Door Bash: On.
Ledge Climb Behavior: Mantle Only.
Aim Down Sight Behavior: Hold.
Change Zoom Activation: Sprint/Tactical Sprint/Focus.
Equipment Behavior: Hold.
Weapon Mount Activation: ADS + Melee.
Weapon Mount Exit Delay: Short or Medium.
Tactical Stance Activation: ADS + Down Button.
Tactical Stance Behavior: On Toggle.
Interact/Reload Behavior: Tap to Reload. For most game modes, Tap to Reload is best. If you’re playing Warzone, Prioritize Interact is best.
Armor Plate Behavior: Apply All.
ADS Stick Swap: Off. This setting, when on, switches the left and right analog sticks when aiming down sights. For most players, it’s not recommended.
Backpack Control: Directional Buttons.
Depleted Ammo Weapon Switch: On.
Quick C4 Detonation: Grouped.
Akimbo Behavior: Preference.
Vehicle Camera Recenter: Short Delay.
Camera Initial Position: Free Look.
Lean-Out Activation: Melee.
Scoreboard/Maps/Stats Behavior: Toggle.
Ping Wheel Delay: Moderate.
Double Tap Danger Ping Delay: Moderate.
Wheels Behavior: Hold.
That wraps up our guide on the best controller settings for MW3. Of course, MW3 is always being tweaked here and there – make sure you keep up with its latest news. Now get out there and start shooting!